March 17, 2011

Low Calorie Dum Aloo Benarasi

People who dislike potato are hard to find. Though potato is a much favored veggie, I don't cook them often in my kitchen. I  rarely cook potatoes on its own. Mostly, its paired with other veggies so that I need to use only one. I buy only half a kilo of potatoes at a time. And that might last formore than a week or so. Here the vegetable vendor will double check if I wanted only half kilo since people usually buy more than a kilo at a time. When I come across baby potatoes in the market, its hard to resist. I invariably buy them. I make dum aloo which uses curd in it. Once I came across this recipe at Tarladalal's and wanted to try it. I did not deep fry it as in the original. Though there is some work involved in it, with little planning, it can be done easily and is worth all the effort that goes in.


Ingredients
  • Baby potatoes - 12 nos
  • Oil - 2 tblspn for shallow frying 
For the gravy
  • Garlic - 3 cloves
  • Ginger -1 inch
  • Dry chillies - 6 nos
  • Cashew - 2 tblspn
  • Cumin/jeera - 1 tspn
  • Saunf/fennel seeds - 1 tspn
  • Tomatoes - 3 nos
  • Water - 1.5 cups

Seasoning
  • Butter - 1 tblspn
  • Cardamom powder - 1 tspn
  • Kasuri methi - 1 tblspn
  • Sugar - 1 tspn

For Garnish
  • Fresh Cream - 1 tblspn (optional)
  • Chopped Coriander leaves
Method
Wash and scrub the potatoes clean. Boil the potatoes till fork tender. You can pressure cook for one whistle. Also you can microwave for 5 minutes. Prick the potatoes with a fork. Heat oil on a non stick pan and add the cooked potatoes. Shall fry till the skin wrinkles. Keep it aside.
Heat oil in a kadai. Add all the ingredients for the gravy. Simmer till the tomatoes are cooked and turn pulpy. Cool and grind the mix to a smooth puree.

Heat butter. Add cardamom powder and the gravy.  Cook till the gravy simmers and the fat separates and floats on top. Then tip in the shallow fried aloo, kasuri methi and sugar.Cook till the gravy thickens and the potatoes have soaked in the flavors. Add a tablespoon of cream and garnish with coriander and serve hot with some phulkas/rotis.

P.S Though I have used 6 dried red chillies, the dish was not much on the spicier side. It could be the variety of the chilli. Adjust the chillies according to the variety you use and the spice levels that suit your palate.


March 16, 2011

Eggless Carrot Cake ~ Butterless, Low Fat & Healthy

Carrot cake is one of the first few cakes I baked. During those beginning days, I stick to the recipe and never attempted to make any changes. Then after few attempts and reading many more recipes in various blogs, I started tweaking the recipe. This recipe is a result of my attempt to use whole wheat flour, low fat, healthy cake.


Ingredients
  •  Wheat flour - 1 cup
  • Sugar - 3/4 cup
  • Grated carrots - 1 cup
  • Refined Oil - 1/3 cup (I used rice bran)
  • Buttermilk - 3/4 cup
  • Vanilla essence - 2 tspn
  • All spice powder -1/2 tspn  (Combo of cinnamon,star anise, cloves powdered together)
  • Baking powder - 1 tspn
  • Baking soda - 1 tspn
  • Chopped nuts/tutti fruity - 1/2 cup

 Method

Sieve together maida, baking powder, soda and spice powder. Add oil, sugar and buttermilk. Whisk until its smooth and is well combined. Now fold the wet ingredients into the dry, mixing with each addition.

Transfer the batter to a greased and dusted cake tin and bake in a preheated oven at 180 C for 50 minutes or until a toothpick inserted comes out clean.


The cake is very soft and moist. Since the cake on its own is very sweet, there isn't any need for frosting.  I baked one batch in an aluminium foil box to be taken for a friend.


March 15, 2011

Suruttai Poli for Indian Cooking Challenge

The challenge for the month of February was Suruttai Poli,  the recipe given by Nithya's mom. Srivalli also gave the recipe link at Pavithra's who has blogged the same sometime back. The recipe is a simple one. The only challenge is to fry the pooris soft and roll them before they turn crisp. I made with 1 cup of flour. So it was easy. When it is to made in large quantities, it will be better if you have another person to tag along. So while one rolls the pooris, the other can fry and fold it. Else it will be very time consuming. I went through Pavithra's recipe and noted the tips given by her. It was very helpful. Also I went by her measurements for the filling, which was enough for the polis I made. Even if you have some left over filling powder, you can simply eat it as it is or add some warm ghee over and roll it into ladoos.

I like to finish the whole work in one batch. So I prepared the  dough and left it to rest for half an hour. Meanwhile, did the filling. And I could finish the whole process in less than an hour.


You need
 
For filling -
  • Roasted gram/Pottukadalai/ - 1/2 cup
  • Sugar - 1/2 cup
  • Cashews,broken into bits - 1 tblspn
  • Cardamom powder - 1 tsp
  • Fresh grated coconut - 1 tblspn
  • Ghee - 2 tsp
 
For Papad/Poori

  • Maida (all purpose flour) - 1 cup
  • Salt - a pinch
  • Oil - for frying
  • Water to prepare the dough
  • Extra maida for dusting


Method for filling:

 
Powder the roasted gram and sugar together. Heat 2 teaspoons of ghee in a pan. Roast the cashews bits and coconut till it starts to brown. Remove from fire. Add the powdered mix and stir to mix well. Transfer to a bowl. Filling is ready.


Making pooris and the final assembly
Take all purpose flour and salt in a bowl. Prepare the dough by adding water in parts. The consistency is that of the chapathi dough. Leave it aside for half an hour.

 
Divide the dough into 12 balls. Roll each ball into thin pooris. Make sure it is not thick, else will puff up like a normal poori. These pooris should not puff and small bubble like puffs here and there is fine.

 
Roll all the pooris and leave it on a paper to dry.


Heat oil in a kadai. When the oil is hot, adjust the heat to medium. Start with the pooris rolled first. Gently slide the poori into the hot oil. don't press it using the spatula, since it will puff up. Also ladle oil over the poori from the sides. Don't flip the poori. Frying each poori should take only few seconds. Drain and leave it on a plate. Quickly spread a heaped tablespoon of the filling on to the poori and start rolling from one end.

The poori will be very soft at this stage. By the time you roll, you can feel it getting crisp. On cooling, it will turn crisp.  The polis were very tasty and it got over with in a day.


March 12, 2011

Carrot Kheer/Payasam

Red, juicy carrots are in season and these varieties are prefect for Gajar ka halwa. And the weather is best for warm desserts. Another warm dessert is the delicious kheer. Its very easy to make and no grating involved as in halwa. It gets done with minimal effort. Here is how I make it.


You need
  • Carrot - 4, long ones
  • Milk - 500 ml
  • Sugar- 1/2 cup
  • Ghee - 1 tspn
  • Raisins,Cashews - 1 tblspn
  • Cardamon powder -1/4 tspn

 
Method
 
Wash and peel the carrots. Cut into half inch thick roundels. Cook the carrots with 1/4 cup of milk in the pressure cooker. Leave the cooked carrots to cool. Puree the carrots not so very fine. Boil the milk and stir in the carrot puree. Cook till the milk+carrot mixture thickens. Add sugar and it will thin the kheer. Boil till it starts thickening. Add roasted cashews, raisins and cardamom powder. Remove from fire. Serve warm or chilled as you wish.

 
P.S - Grinding some cashewnuts along with carrots will give a more rich and creamier kheer.


March 9, 2011

Strawberry in two avatars - Milkshake and Shrikand

I am putting the strawberry season to full use. And this is the first time I have access to strawberries which doesn't cost a bomb. And we are nearing the end of the strawberry season here. I have frozen quite a few and made two bottles of jam. The easiest way to use them is to make milkshake for breakfast. Its made atleast twice in a week during the season. Occassionaly, I make strawberry flavored Shrikand too. That is also quite easy except that hung curd has to be made. Often I forget to reserve the curd to prepare hung curd and by the time I realise I would have churned the curd to make buttermilk. At home, we prefer buttermilk than curd. Though the plain Shrikand is not much favored by husband, he loves the strawberry flavored one. So here is two super easy recipes with strawberry. In fact, there isn't much to write about  in terms of the recipe. Here is I how I make it.

Strawberry Milkshake


You need
  • Strawberries - 10 -12 nos
  • Chilled milk - 2 cups
  • Sugar - 2 tblspn (Or use honey)

 Method
Wash and hull the strawberries. Cut into halves. Blend the halved strawberries along with sugar to fine puree. Add the chilled milk and pulse for few second. Pour into glasses and chill it if you are not serving immediately.


Strawberry Shrikhand


You need
  • Hung curd - 1 cup
  • Strawberries - 8 to 10 nos
  • Sugar - 2 tblspn
  • Cardamom powder - 1/2 tspn
Method
To get hund curd, take 4 cups of curd in a cheese cloth. Tie it and hang it to drain the whey or the liquid in the curd. What remains is the creamy curd. I usually hang it in inside the fridge so that the curd doesn't turn sour.

Puree the strawberries with sugar. Beat the curd till smooth. Add the sweetened strawberry puree. Mix well. Finally add cardamom powder. Chill and serve. Garnish with chopped pistachios/almonds/chiroli  while serving


March 5, 2011

VazhaiPoo Vadai ~ Banana Blossom fritters

Banana blossom/Vazhai poo is usually made into a pitlai or usli at home. Very rarely, I make vadai with these. I mainly cook the vazhai poo for its nutrients and I feel deep frying will not yield the same result.  But at times, you tend to throw all the nutrition and health benefits out of the window and decide to go for a deep fry indulgence.  This vadai is more popular in TamilNadu.


Yields - 12 nos

You need

  • 1 medium sized banana flower - picked and finely chopped
  • Chana dal / Kadalaparuppu - 1 cup
  • Tuvar dal - 1 tblspn
  • Red chill- 2 nos
  • Saunf /Fennel seeds- 1 tspn
  • Green chilli - 3 nos
  • Curry leaves - few sprigs
  • Turmeric - a pinch
  • Salt to taste
  • Oil to deep fry

 Method

 
Pick the florets, clean and chop them finely. Soak it in water mixed with buttermilk till you use it. Soak chana dal and tuvar dal for an hour. Drain.

Steam cook the chopped flower with a pinch of turmeric and salt for 10 minutes. You can microwave it for 5 minutes. Squeeze to remove extra water if any.

Grind the dal coarsely. Dry roast red chilli and saunf and powder it.   

Take a bowl. Add the ground dal, powdered red chilli and saunf, steamed banana flower, chopped green chilli, curry leaves and salt. You may not need to add water to prepare the batter. The moisture from dal and the flower will be  enough. Heat oil in a kadai. When hot, pinch lemon sized batter and pat into disc on your palm or greased plastic sheet or banana leaf. Slide into the hot oil and fry till it is brown and crisp.


March 2, 2011

Banana Blossom/Vazhai Poo - How to clean and a recipe -Vazhai Poo Pitla


All the parts of banana tree is useful in one way or the other- Bananas - raw or ripe, stem, flower, leaves,  strings taken out from the bark like for garland making. Banana blossom/flower has high nutritional value and is considered as an effective medicine for menstrual disorders. It relieves  painful menstruation and also helps in increasing the progesterone hormone there by reducing excess bleeding.


Though,many knows about the benefits of the flower, there is some reluctance when it comes to cooking them because of the cleaning work involved.  I don't mind the extra work and the resulting stain on my fingers and nails. While I was at Palakkad, I always made it to a point to cook banana stem or flower at least once in 10 days if not every week. But after moving to Pune, I did not find them initially. Later we discovered a Tamilian vegetable vendor, who is quite far the place we stay. Luckily, the shop is near to my husband's office. So I get them now not very frequently as I would have liked it to be.

Now on to the cleaning process. First oil your palm so that it doesn't stain your fingers.  Also keep a bowl of water with few teaspoons of buttermilk mixed in. The cleaned flowers will be added to this water to avoid discolouring. Also it helps to remove the stains in the flower. You can turmeric if you don't have buttermilk.

 
Remove the brown cover. You can find yellowish white florets inside. Pull the bunch out.


Take a flower and  slightly rub it between your fingers. You can see the stamens inside. There will be one which is very thick and has a black head. We call it 'Kallan' in Tamil. Pull that out. It has to be discarded. These hard ones will make the dish taste bitter.


 If you feel the outer covering very thick and plastic like, it can be discarded for first few layers. As you move to the inner layers, the outer covering of the flower will be soft.  Towards the innermost layers, the outer covering will be white and not very fibrous. At that stage, you can chop the remaining flower as it is. Take all the cleaned florets and chop it finely.


Vazhai poo vadai, paruppu usli are some of the recipes which can be made with this. I am sharing a pitlai using the flower. These flowers have a slight bitter taste to it. And cooking in tamarind, removes that bitterness.

  
Now on to the recipe

You need
  • Finely chopped Banana flower - 1 cup, packed
  • Tuvar dal - 1/2 cup
  • Tamarind - lemon sized
  • Turmeric - a pinch
  • Salt to taste
  • Grated coconut - 1/2 cup
  • Curry leaves for garnish

 
To roast and grind
  • Urad dal - 2 tspn
  • Chana dal - 2 tspn
  • Red chilly - 4 nos
  • Hing - a tiny piece
  • Oil - 1 tspn

 
To temper
  • Oil - 1 tspn
  • Mustard seeds - 1 tspn
  • Red chilly - 1, broken into two

 
Method
 

Pressure cook tuvar dal till soft. Mash and keep it aside.  Soak tamarind in warm water for 10 minutes. Extract the pulp and add another cup of water. Take the tamarind water in a pot and add turmeric and salt to it. When the tamarind water starts boiling, add the chopped banana florets. Let it cook till the florets turn soft. Heat oil in a kadai. Add hing piece. When it is fried ,remove and add urad dal, chana dal. When it starts
browning, add the red chillies. When chillies change color, remove from fire. Cool and grind it along with the grated coconut to a smooth paste. Add water while grinding. If you are using hing powder, add it towards the end  else it will get burnt on roasting.

 
Add the cooked and mashed dal, ground coconut paste to the cooked tamarind mix. Adjust the salt and let it simmer for few minutes. Season with mustard seeds and red chillies and garnish with curry leaves.


February 21, 2011

Cabbage Dosa ~ No fermentation, spicy dosa

At first, cabbage in a dosa did not appeal to me. I have seen many blog posts featuring the cabbage dosa, a famous Konkani recipe. My husband's aunt Malathi is a great cook and she loves to cook and feed too. When she is serving, she keeps filling your plate and you will be too full that one will need support to get up from the chair.  M aunt's husband is very choosy when it comes to food. He will have only oil free food and don't eat onions. M aunt will cook the same curry in two ways, with ease. Also sometimes she will cook different menus to satisfy all. And she puts together the meal at super speed. And in many ways, she reminds me of my mother.  That way, I have always felt that I am staying at my home when I go there. She has never treated me as daughter-in-law. I am literally pampered there.  After we shifted to Pune, I had to visit my hometown and I stayed at aunt's house. She made this dosa for breakfast. I was simply hooked to it and understood a recipe cannot be judged by its ingredients alone.  And then it is a regular at my home.

This dos is almost an instant kind since no fermentation is required here. Tamarind is added to the batter and it takes care of the slight sourness to the batter. If you remember to soak the rice and dal the previous night, then the breakfast for the day is ready in 15 minutes including the grinding and chopping time. So if the cabbage in the recipe has put you off, do try it once and you will be proven wrong.


You need
  • Parboiled rice - 1 cup
  • Chana dal - 2 tblspn
  • Tuvar dal - 1 tblspn
  • Red chillies - 6-8 nos
  • Tamarind - Gooseberry sized
  • Turmeric powder - 1/2 tspn
  • Hing - 1/4 tspn
  • Salt to taste
  • Finely chopped cabbage - 1 cup


Method
Soak rice and dal together overnight.
Soak tamarind and red chillies in warm water for 10 minutes. Soaking in warm water makes the tamarind soft. Grind the soaked tamarind, red chillies, hing , turmeric and salt along with few tablespoons of rice. Grind it to smooth paste and then add the rest of rice+dal mix. Grind it coarsely. To the batter, stir in the chopped cabbage. The batter will be thick like that of adai.

Heat dosa tawa and when it is hot, spread a ladle of  the batter. The batter is not easily spreadable like dosa. Using the ladle lightly spread the batter to a circle. Don't try to spread thin. This is a fairly thick dosa. Drizzle oil around the dosa. When the bottom is cooked, flip and cook on the other side.

The dosa can be had on its own since it has tamarind and red chillies to add spice. A side of coconut chuntney or sambhar is also good. Serve it hot.


February 15, 2011

Gujarathi Dal for Indian Cooking Challenge

Indian cooking challenge recipe for the month of February is an authentic Gujarati dal from the award winning cookbook Sukham Ayu, authored by the duo- Jigyasa Giri & Pratibha Jain. Thanks to Jigyasa and Prathibha for sharing the recipe for the challenge. The recipe may not fit the bill for a challenge but it surely gave an opportunity to recreate the authentic flavor at home. That's also a purpose behind this ICC, to know about the authentic, regional recipes.


Now coming to the recipe, this is a simple recipe with ingredients easily available in an Indian kitchen. I must say, from the list of the ingredients, you will not be able to guess the taste and flavor of the final dish. For this, you must try and experience yourself. I literally ate only this dal and forgot about my rice. Basically, I love spicy and tangy food. The flavor and taste won me over.


You need
  • Tuvar dal/Split red gram - ½ cup
  • Turmeric powder ½ tsp
  • Tamarind pulp - 2 tbspn (or dry soft kokum 4-5 pieces)
  • Jaggery - 1 tspn
  • Dry dates - 4,halved (I used lion dates)
  • Drumstick/Muringakkai - 4-5 pieces, 2 inch length
  • Yam/Chenai - 4-5 pieces, 1 inch cubes
  • Groundnuts - 1 tbsp
  • Green chillies - 2, slit
  • Ginger -1 inch piece, chopped fine
  • Coriander powder - 2 tsp
  • Cumin powder - 1 tsp
  • Garam masala - ¼ tsp (Used Kitchen king)
  • Salt to taste

 Coriander leaves to garnish


 For the seasoning

  •  Ghee - 2 tsp
  •  Mustard seeds - ½ tsp
  •  Fenugreek seeds - ¼ tsp
  •  Cumin seeds - ½ tsp
  •  Dry red chillies - 2
  •  Asafoetida/Hing powder -¼ tsp
  •  Curry leaves 5-6

 Method

 Pressure cook the dal along with yam pieces. I find yam taking a long time to cook. So pressure cooked it along with the dal. Add a pinch of turmeric and enough water to cover the dal. The dal should be cooked soft. When the pressure is released fully, remove the yam pieces and mash the dal well.

Take the mashed dal, cooked yam pieces and rest of the ingredients in a thick bottomed pan. Don't add garam masala and coriander leaves. Add a cup of water and let it simmer over low flame for 10 minutes. Take care that the dal doesn't stick to the bottom of the pan. So stir occasionally.

Heat a seasoning ladle with ghee. Add mustard seeds. When it pops, add fenugreek, followed by cumin, red chillies hing and curry leaves. Pour the seasoning into the simmering dal. Allow to boil for another 3 minutes. Remove from heat and garnish with coriander leaves.
 
Hot dal with steaming rice topped with a dollop of home made ghee will be the ultimate comfort food. Next time, I want to try with kokum and also include drumstick. I'm sure drumstick will take it to the next level. The recipe, from Sukham Ayu,  is well written with detailed instructions and the measurements are perfect.


February 14, 2011

Strawberry Coconut Fudge/Burfi with fresh strawberries

Today, being Valentine's Day, I have been seeing loads of recipes to suit the celebration mood. Personally, I am not the kind who looks forward to this day. Its like any other day for me. I have been looking for strawberry recipes to make best use of the seasonal availability.  Of late, I was baking a lot of cakes/cupcakes.   I wanted to make some Indian sweet for a change. Two days back, I asked my husband which traditional sweet he would want me to make. Husband's option was Coconut burfi. So I thought why not try adding some strawberry puree to my usual burfi. I wasn't sure if the sweet will set or not. I thought even if it doesn't hold shape, it will have a consistency of a halwa and can be eaten with a spoon. I went ahead and tried in smaller measurements, so that if it doesn't come out well, the wastage will be minimal. Probably, this is one of the few times, a recipe made in my kitchen makes it to the blog in the shortest time.


You need

  • Fresh, grated coconut - 1/2 cup, packed
  • Strawberry puree - 1/2 cup
  • Sugar - 1 cup + 2 tblspn
  • Ghee - 2 tspn
  • Water - 1/2 cup
Method

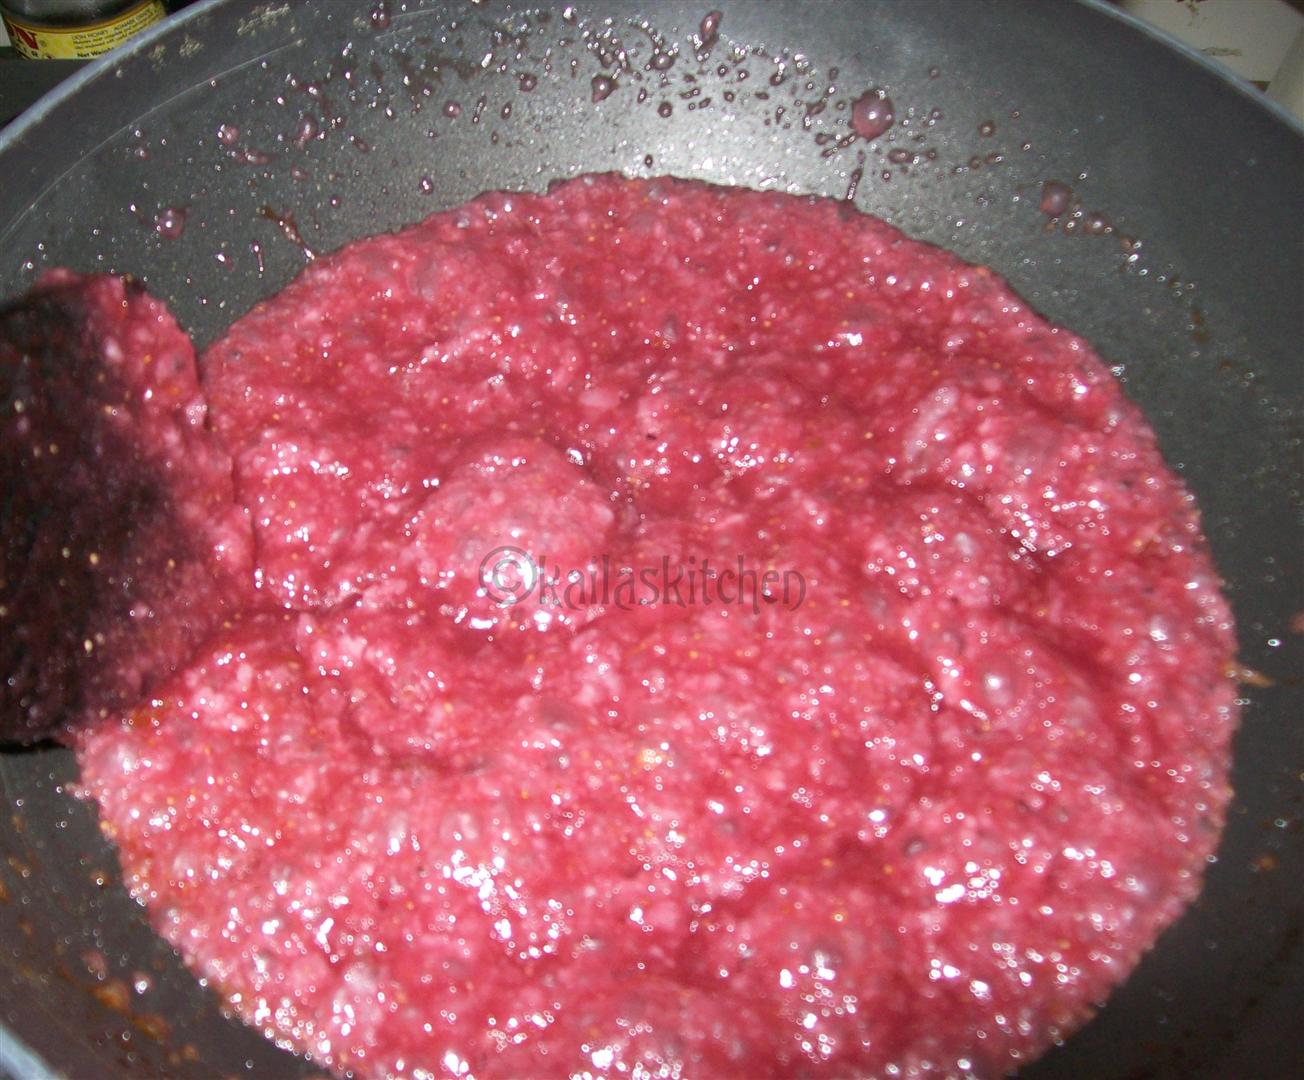
Take 6-8 strawberries and make a puree of it. No need to strain the puree. Make sure there is no pieces in it. Heat a kadai with sugar and half cup of water. Keep stirring till the sugar is fully dissolved. Let the syrup boil to one string consistency. Stir in the strawberry puree. Let it simmer for 3 minutes or so. By then the syrup will bubble. Add the grated coconut. Keep stirring. When it starts thickening, add a teaspoon of ghee. Continue stirring for another 10 minutes. When it starts bubbling from all sides, add the remaining ghee and cook for a minute or two. Transfer to a greased plate and level it using a greased katori with a flat base. It takes little more time to set than a regular coconut burfi.


The fruit flavored burfi was very tasty. Its difficult to stop with one. And adding the fruit puree gives a new flavor to the burfi and doesn't even remind you of the traditional coconut burfi. Its a completely new taste. I am glad I tried this.


February 11, 2011

Paruppu Boli With Chana dal and Sugar filling

During my childhood days, I knew only Uppittu. Back then, this made it appearance very few times in a year.  Being in a joint family, each one had access to a limited supply of these delicacy. Later, attending weddings in Chennai, introduced Boli/Poli to me. Needless to say, was hooked to those soft bolis. I started pestering amma to learn. Amma learnt it from my aunt in Chennai and thus I could enjoy them at home too. And blogging has introduced me to umpteen varieties of bolis. Post marriage, I came to know that this is a masterpiece of my MIL and I am sharing her recipe here and I have been following the same. Earlier I had posted a boli with a different filling. Here its the traditional version.


You need

For the filling
  • Chana dal/Kadala paruppu - 1 cup
  • Sugar - 1 cup
  • Cardamom powder - 1/2 tspn
  • Ghee - 1 tblspn

For the dough
  • Maida/All purpose flour - 2 cup
  • Butter/Oil - 1 tblspn
  • Turmeric - a pinch
  • Water to knead
  •  Oil or ghee to roast the boli
  •  Powdered sugar - 1/2 cup (Optional)

Method


 Mix maida, butter and turmeric in a bowl. Make sure the butter coats all the flour and this will ensure soft boli. Add water little by little and knead to get a soft dough. The dough should be firm too. Leave the dough for atleast an hour .

Pressure cook chana dal with enough water till it is soft. Drain and mash the dal. Grind the dal along with the ,sugar in a mixer grinder to get a soft paste. There should not be any granules of dal, since it will make it difficult while rolling later.

Heat a kadai. Add a teaspoon of ghee. Tip in the ground dal paste. Keep stirring till it turns dry and it should be soft too. Don't cook long, that it turns hard and lumpy.

Pinch a lemon sized dough. Roll it to 2 inch size. Keep a tablespoon of the filling. Fold the edges and cover the filling. Keep the filled edges facing down and dust it with the flour and roll like a chappathi.

Heat a tawa. When it is medium hot, place the rolled boli and cook both sides till you can see brown specs. Drizzle little oil or ghee along the edges while cooking. Remove from tawa and sprinkle little powdered sugar and fold. Enjoy munching the sweet and soft bolis. It has a shelf life of 3 days.


February 3, 2011

Orange Chocolate Cupcake ~ Eggless,Butterless & Healthy


I have a special liking towards the citrus flavor. With gorgeous oranges in season, I was looking for an orange cupcake recipe and I stumbled upon the chocolate orange cake at Baking Bites and an orange muffins at Verstaile Kitchen. Both the recipes were eggless and  I needn't have to make it eggless to suit my taste.  I have adapted the baking bites' recipe  taking few hints from Versatile Kitchen. Orange and chocolate complement each other so well and you will experience the combo flavor with the first bite.


You need

  •  Wheat flour - 1 1/2 cup
  • Coco powder - 1/2 cup
  • Sugar - 3/4 cup
  • Baking powder - 1 tspn
  • Cooking soda -1/2 tspn
  • Salt - 1/4 tspn
  • Fresh Orange juice - 3/4 cup
  • Vegetable oil - 1/3 cup
  • Vanilla essence - 1 tspn
  • Orange zest - 1 tblspn (I used candied orange peel)

Method

Sieve dry ingredients - wheat flour, cocoa powder, baking powder, cooking soda and salt. I always measure the dry ingredients to a plastic container which has a tight lid. I shake the container vigorously with the lid on and proceed. A bit lazy to take out the sieve and the cleaning that comes after.

Mix orange juice, sugar, oil and vanilla essence. Fold the dry ingredients into the wet mix and finally stir in the orange zest.


Grease the muffin mould and fill to 2/3 in each hole.  Bake in a preheated oven at 170 C for 25 minutes.

This will yield 12 medium sized muffins. My muffin tray can hold only 9 and I baked the remaining batter in microwave.


For the frosting

  • Butter - 2 tblspn
  • Powdered sugar - 1 1/2 cups
  • Orange Juice - 1 tblspn
Cream butter and sugar until light and fluffy and add the orange juice. Adjust the juice quantity to suit the consistency required. Pipe it on the cooled muffins and enjoy the orange flavored chocolate delight. I know my frosting has not come out well. The cupcake on its own is not very sweet. Hence the frosting did enhance the taste. I have baked it twice and both times, the cakes have vanished pretty fast.


To bake in the microwave

Scoop a heaped tablespoon of the batter into greased MW cups and bake for a minute. Leave it for 3 minutes and enjoy your cake.

If your baking a single cake, do add a teaspoon of milk  or orange juice to thin the batter. This will ensure a
moist cake. I tried baking in individual cups and haven't baked a single cake.

While the cup cakes were getting baked in the OTG, I could enjoy a quick treat with the MW cake.


Update: I am sending the healthy cake to Priya's Fast  Food Not Fat Food event