Showing posts with label Fruits. Show all posts

March 9, 2011

Strawberry in two avatars - Milkshake and Shrikand

I am putting the strawberry season to full use. And this is the first time I have access to strawberries which doesn't cost a bomb. And we are nearing the end of the strawberry season here. I have frozen quite a few and made two bottles of jam. The easiest way to use them is to make milkshake for breakfast. Its made atleast twice in a week during the season. Occassionaly, I make strawberry flavored Shrikand too. That is also quite easy except that hung curd has to be made. Often I forget to reserve the curd to prepare hung curd and by the time I realise I would have churned the curd to make buttermilk. At home, we prefer buttermilk than curd. Though the plain Shrikand is not much favored by husband, he loves the strawberry flavored one. So here is two super easy recipes with strawberry. In fact, there isn't much to write about  in terms of the recipe. Here is I how I make it.

Strawberry Milkshake


You need
  • Strawberries - 10 -12 nos
  • Chilled milk - 2 cups
  • Sugar - 2 tblspn (Or use honey)

 Method
Wash and hull the strawberries. Cut into halves. Blend the halved strawberries along with sugar to fine puree. Add the chilled milk and pulse for few second. Pour into glasses and chill it if you are not serving immediately.


Strawberry Shrikhand


You need
  • Hung curd - 1 cup
  • Strawberries - 8 to 10 nos
  • Sugar - 2 tblspn
  • Cardamom powder - 1/2 tspn
Method
To get hund curd, take 4 cups of curd in a cheese cloth. Tie it and hang it to drain the whey or the liquid in the curd. What remains is the creamy curd. I usually hang it in inside the fridge so that the curd doesn't turn sour.

Puree the strawberries with sugar. Beat the curd till smooth. Add the sweetened strawberry puree. Mix well. Finally add cardamom powder. Chill and serve. Garnish with chopped pistachios/almonds/chiroli  while serving


January 13, 2011

No Bake Strawberry Cheesecake

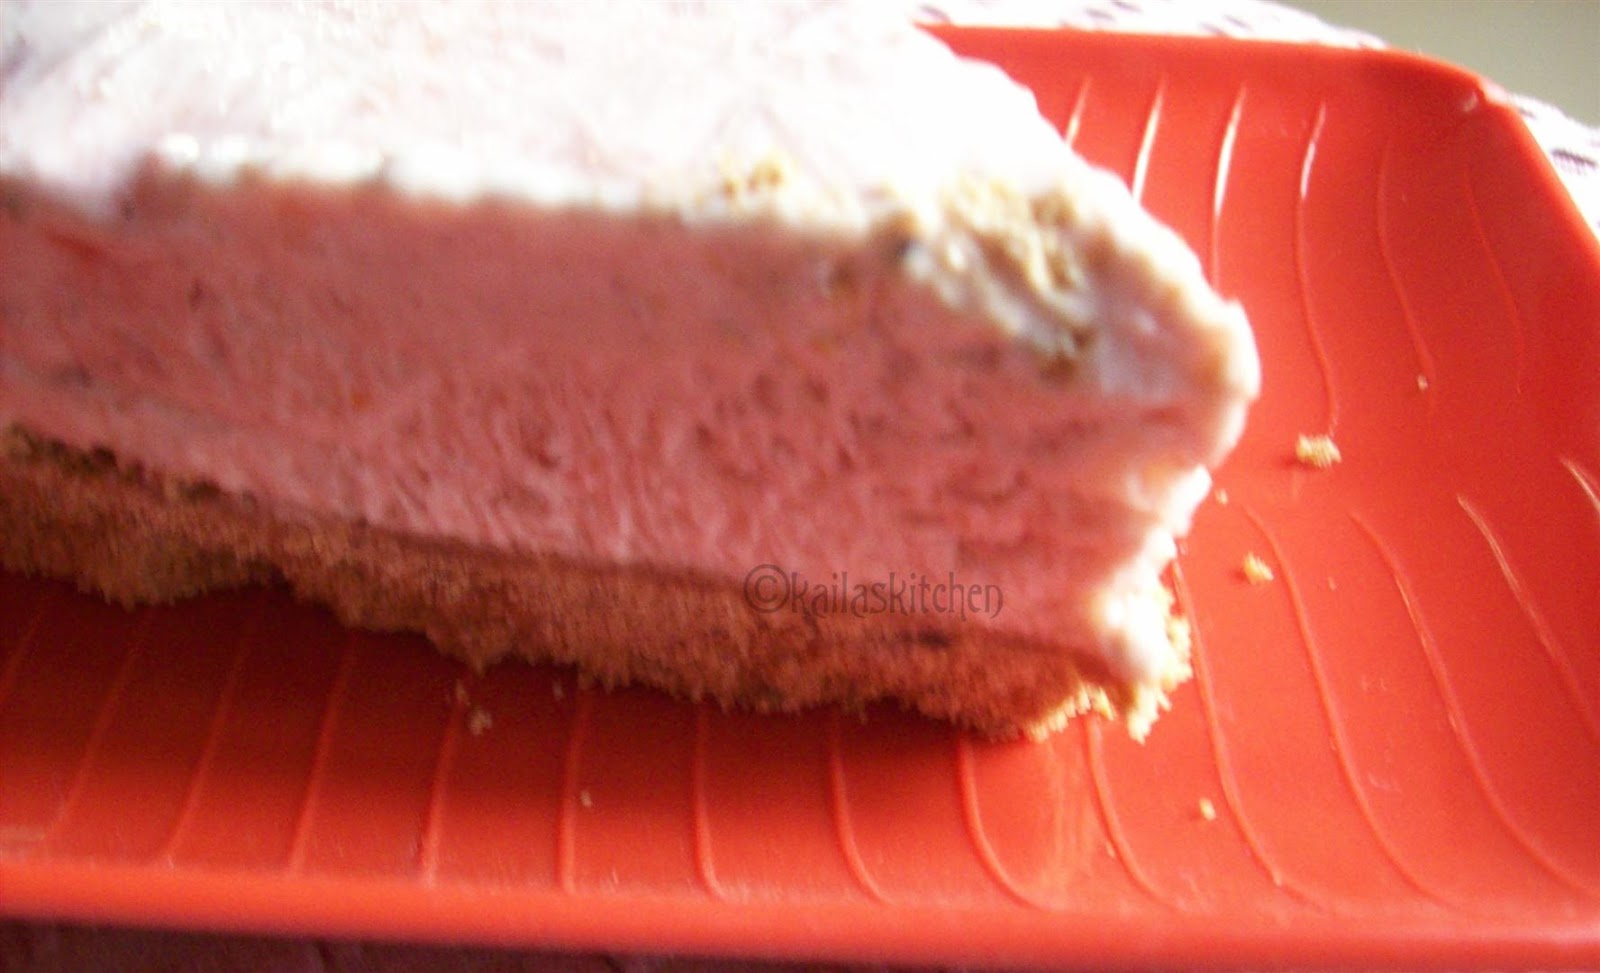
Though I wanted to clear my drafts at the earliest, I do not want to postpone the posting of recipes which makes use of the seasonal fruits/vegetables. Strawberries are in plenty in the market and its hard to ignore those red beauties.  When  Mahabaleshwar is nearby, you can find them in heaps at the carts lined up near the market. I wanted to make best use of them during the season. My husband is happy with the milkshake. He says why bother to use them in any other way when the milkshake is heavenly. While looking for strawberry recipes, I came across the cheese cake recipe at Nandita's. And I decided it was the dessert for the New Year's eve.  I did not make much changes to her recipe except that I used some chocolate biscuit too and increased the sugar by 1/4 cup.


For the base

 
  • Marie biscuit - 1 packets (24 nos)
  • Chocolate biscuit - 1 pkt (I used Hide & Seek)
  • Melted butter - 3 tblspn


For the cake

 
  • Fresh Strawberries - 250 gm
  • Sugar - 3/4 cup
  • Hung curd - 1 cup
  • Fresh cream - 1 cup (used Amul cream 200ml)
  • Agar agar/China grass - 1 pkt (10 gm)
  • Water - 4 tblspn

Method

 
I used a combination of marie biscuit and chocolate biscuits. You could use marie biscuit alone. Pulse the biscuit coarsely in the mixer along with the melted butter. Or take the biscuits in a zip lock cover and powder it coarsely with the chappathi roller.


Take a round tin. Line it with cling film. Make sure you leave some of the film hanging over the edge, to make it easier to lift the cake out of the tin, later. Spread the biscuit mix on the tin. The base should be firm. So press it down tight. Freeze the base for half an hour. Meanwhile prepare the cake mix.


Mix hung curd and cream in a bowl. To get hung curd, take almost 4 cups of fresh curd and tie it in a muslin cloth and hang it. The whey will be drained and you will be left with creamy curd.


Puree strawberry with sugar till smooth.


 Mix in the strawberry puree to the curd+cream mix. Mix well so that its uniformly blended in.


The agar agar I used were strands. I put them in warm water for 10 minutes. Then put that bowl in a pan of boiling water for the china grass to fully dissolve. Add the liquefied agar agar to the mix. Mix it well with a spatula. I reserved few drops of the puree and made a marble effect. But on setting, the effect was not seen, though. Leave in the refrigerator for overnight, to set.


Once set, take the pan and pull the cake out by lifting the cling film. You could garnish with some fresh strawberries or strawberry preserve. I served it plain


Notes:

 
The quantity of agar agar used  helps in the setting of the cake. I used only half a packet (5 gms) which I found was not enough. On leaving it in the fridge overnight also, the cake did not set well. Later I had to move it to the freezer to set. Then it set well. But once taken out, after sometime, it started melting like an ice cream. The full packet of agar agar would have worked well. But for that, the cake tasted well. No after taste of agar agar.


November 30, 2010

Fig Jam in Microwave

Fresh figs are in season now. I have only tasted the dried figs till now. And I have seen the fresh figs in pictures only. So you can imagine my joy when I first saw them in the market. Needless to say I bought them immediately. And figs are one fruit which cannot be stored for long. I made milkshake and there is so much that can be used in a milkshake. And I decided to make some jam. I wasn't sure if we are going to like it as jam. Finally was happy that I gave it a try. And making in microwave, it takes only 10 minutes.


You need

  • Fig puree - 1 1/4 cup (I used 10 nos)
  • Sugar - 1 cup
  • Lemon juice - 1 tblspn
  • Lemon zest - 1/4 tspn (optional)


 Method


I pureed the figs with the skin on. If you  see some blemishes, can gently remove that part alone. Quarter the figs and puree them coarsely. Take care not to make a fine paste.


Add sugar and mix well.


Microwave for 4 minutes. Add the lemon juice and lemon zest. Microwave for another 4 minutes. Check if the jam is set. I had to keep for another 2 minutes. Give a standing time of 5 minutes.


If you like your jam very sweet increase the sugar by another 1/4 cup. Enjoy it on a warm toast of bread.


 Fig jam is going to be part of Srivalli's 365 days of Mircowave Cooking


October 28, 2010

Amla/Indian Gooseberry Jam in Microwave

I lolve making jams at home and with microwave its surely a breeze. It gets done easily in less time. After seeing Latakka's amla halwa, I was inspired to try jam.


You need

  • Amla - 250 gms (Around 13 nos) gave  a packed cup of cooked amla pulp
  • Sugar -1 cup
  • Cardamom - a pinch

Method


Microwave the washed amlas for 3 minutes till it is soft. De seed and pulse for few seconds in the mixer to get a coarse mixture. Don't grind it smooth else it will effect the texture of the jam. Measure the pulsed amla paste. Take equal quantity of sugar.


Mix sugar and  amla and micro high for 8 minutes. Stir in between. Check if there is any liquid present. If then cook for a minute or so. Adjust the timings according to your oven.  Don't cook long enough that it might turn hard on cooling. When cooked in microwave, it continues to cook even after its removed from the oven. So keep that also in mind.


I added a teaspoon of saffron + cardamom syrup or add just cardamom powder. Next time I am planning to add freshly crushed ginger too.


Enjoy the healthy jam on a warm toast.


The tart taste of amla is very much felt... To mask the taste of amla, you can increase the amount of sugar. After a week, I could not feel  the khatta meeta of amla... not sure if I got used to it or its the result of ageing.
Anyways, not many may like it at the first instant. If you love amla, then you will surely like it. 


March 27, 2010

Microwave Jackfruit Cashewnut Kheer

I was regular with the Microwave Easy Cooking event, started by Srivalli, for sometime. Then later on, my interest in event participation came down and did not bother to cook exclusively for the event. But I didnot want to miss this month's theme of celebrating fellow bloggers hosted by my namesake and dear friend. I had few recipes bookmarked in my mind. But could not get around making anything. When I had few jackfruit bulbs left from what was shared by my neigbour, I immedately decided to make this kheer.  I had tasted cooked jackfruit only with jaggery as sweetner. So I wasn't sure how the kheer with sugar is going to taste. I decided to go ahead. I adapted Priya's recipe. I replaced almond with cashew and used fresh jackfruit. The kheer is very simple gets done in 5 minutes in a microwave. 


You need

Fresh jackfruit bulb - 10 nos  (around 1/2 cup of chopped pieces)
Cashewnuts - 10 nos
Milk - 1 1/2 cup
Sugar - 3 tablespoon
Saffron & Cardamom Syrup - 1 tspn


Method

Soak cashewnuts in warm milk for 10 minutes. Else MW half cup of milk and cashew together for 1 minute. Leave it to cool. Blend cashew along with milk and jackfruit to a smooth puree. Add rest of the milk and sugar. Microwave for 4 minutes. Add saffron and cardamom syrup and mw for 30 seconds. If you like, you can serve it warm. I liked it chilled. It tastes like a pudding. Depending on the variety of jackfruit the kheer can turn very creamy and thick. You can adjust the amount of milk to suit your consistency. Also adjust the sugar according to the sweetness of the fruit.


December 24, 2009

Eggless Orange Cake


I had too much of oranges at home, to be used up. Making juice is one good way to finish up more number of oranges at one go. I thought of cakes and did a search for orange cakes. I wanted a recipe where in orange juice is used and majority of the recipes I found had only the zest in it. Finally I found Shammi's Orange Cake. The feedback by those who have tried was encouraging. Hop over to her blog for more eggless baking recipes. I have changed some ingredients else its almost her recipe. I didn't do the filling. But decided to try my hand in icing the cake, which is a first for me. The amount of sugar and butter in the icing, puts me off, usually. Also me and my husband prefers cake with no frosting. My dad was here when I baked and he pushed me to do the icing. My dad really enjoyed the cake very much. While slicing the cake, I did in a hurried manner and the top slice cracked but managed to keep it whole. I know I have much more to go on the icing part. But for a first timer, I think it will get a pass.


Ingredients


Whole wheat flour - 1 cup

All pupose flour/Maida - 1/2 cup

Cornflour - 2 tspn

Baking powder - 2 tspn

Salt -1/4 tspn


Oil - 1/2 cup

Sugar - 3/4 cup

Yogurt -1/4 cup

Orange zest - 1 tspn

Fresh orange juice - 3/4 cup ( from 3 ornages)

Orange color a pinch


Method

Sift the dry ingredients - wheat flour, maida, cornflour, baking powder and salt.

Cream sugar and oil. Add yogurt. Beat well. Add a pinch of orange color.

Add the flour mix and orange juice alternatively to the wet mix. Mix well after each addition.

Finally stir in the orange zest.

Transfer the batter to a greased and dusted cake tin. Bake in a preheated oven at 180 C for 30 minutes.

The cake on its own also tastes very nice. You can just dust it with some powdered sugar and serve.


Frosting

Butter - 1/2 cup

Powdered sugar - 1 1/2 cup

Corn flour - 2 tblspn


Beat all the ingredients together till creamy. Cool the cake well and slice it horizontally.  Spread the frosting on the base slice. Carefully place the top slice over it. In the remaining  frosting, add a pinch of orange color. Cover the cake fully with the frosting. Leave it to set and slice.


Wishing all my readers A Merry Christmas.


December 5, 2009

Pineapple Kesari

I can't remember how many times I have made kesari at home. Everytime, when my hsuband has the sweet craving (that craving is there almost daily) and there isn't anything near to sweet to munch on, he will ask me to make kesari. Then the quantity I make will be very less. that is just one serving for two. When the whole of my neigborhood must be getting ready to hit the bed, I will be busy in the kitchen making kesari. When you are making in small quantities, its very easy, much easier than making upma, since no chopping involved here. On one such night, when I set out to make kesari, the pineapple on my kitchen caught my attention. I have heard of pineapple kesari a lot but never tried it. Decided it was pineapple kesari that day. Chopped the pineapple into bite sized pieces and used a cup of it for the kesari. I have heard many people cribbing at the thought of cutting a pineapple. I have never found it difficult. The remaining pineapple was used for making jam. I followed my usual way of making kesari with the addition of the pineapple chunks in it. I just increased the water and sugar quantity to make up for the addition of the pineapple.


You need


Roasted rava/semolina - 1 cup

Sugar -2 1/4 cups ( increase 1/4 cup more depending on the sweetness of pineapple)

Water - 2 1/2 cups

Yellow food color -a pinch. ( Can use turmeric powder too)

Ghee - 1/2- 1 cup

Cardamom powder - 1 tspn


I usually roast rava as soon as I buy them from store. If not roasted, dry roast rava till light pink. You get roasted rava too from the stores.


Heat a kadai, add measured water with a pinch of food color. When water starts boiling, add the pienapple pieces. After a minute or so, add rava and mix well. Let the rava cook and by then the water will be fully absorbed. Add sugar. The sugar will melt and the mixture will turn runny. Mix well and take care to break the lumps if any. Slowly add ghee at intervals. The kesari will take a glossy sheen and will leave the sides of the pan. It tastes beest when served cold. You can press it down on a greased plate and cut into desired shape while warm.  Loved the hint of pineapple in the kesari.


Note: If you don't want to bite into the pineapple pieces, you can give a run in the food processor or mixer and then add for a smooth texture. You can add roasted cashews too.


I am sending this to Sanghi's FIL event which features Fruits for the current month


November 23, 2009

Honey Gooseberries- Indian gooseberries soaked in sugar-honey syrup


Gooseberries/Nellikkai/Amla are rich source of Vitamin C. The gooseberry from an integral part of various traditional home remedies and is an essential ingreident in most of the Ayurveda medicines. The gooseberry fruit contains as much as 20 times of vitamin C as that in an orange. Iron in the food is best absorbed when taken in combination of food containing Vitamin C. In that scenario, honey and gooseberries form a perfect pair.  I first saw gooseberries soaked in honey at Wayanad.   At first, I did not know that it was soaked in honey. When I saw similar jars at different tourist spots, I asked the cab driver and he enlightened me on that. I jusst bought two pieces to taste it. I loved it. From then on, I wanted to try it at home. But did not search for a recipe though. It was in the back of mind.  Later I found it in Meenakshi Ammal's Samaithupar Part II.


When I was preparing the post I googled to find the benefits of Goosberry to include as part of  the post. I found a recipe for honey berries. I felt it more healthy with out the addition of sugar and think these are the kind I had at Wayanad.

The gooseberry can be preserved using honey, and thus used throughout the year. Take required number of gooseberries and clean them in running water. Pierce the gooseberries using a sharp stainless steel edge at various spots. Now immerse these pierced gooseberries in a jar full of pure honey. Cover the mouth of the jar using fine white cloth and place the jar in sunlight for an hour for 15 days. 

A tablespoon each of fresh gooseberry juice and honey mixed together forms a very effective medicine for several ailments. Its regular use will promote vigor in the body within a few days. When fresh fruit is not available, dry powder can be mixed with honey.

For more info on gooseberries and how it can be used as home remedies, check here.

While writing the post, I am reminded of a popular Malayalam saying -
"Moothavar chollum muthunellikkayum Aadhyam Kayakkum, Pinne Mathurikkum "
(à´®ൂà´¤്തവര്‍ à´šൊà´²്à´²ും à´®ുà´¤ുà´¨െà´²്à´²ിà´•്à´•à´¯ും ആദ്à´¯ം കയക്à´•ും à´ªിà´¨്à´¨െ മധുà´°ിà´•്à´•ും).
It translates as "Both elders's advice and goosebrries will taste bitter at first but will turn to be sweet later ". Have you tried drinking water after a bite of gooseberry. If not, try it. Then you will understand the meaning of the above.


Now on to  the recipe I followed.

You need

Gooseberries - 1 heaped cup

Sugar 3/4 cup

Water - 1/4 cup

Honey - 2 tblspn

Cardamom - apinch


Method

Wash and dry the berries. Prick with a skewer/toothpick at few places on each berry.  Prepare sugar syrup. When the syrup is sticky, i.e. prior to one thread consistency, add the berries and turn well. The moisture released from the berries will make the syrup thin. Continue cooking till the syrup attains the one thread consistency. Add honey and cardamom powder. Cook for 2 minutes and remove from fire. Cool and store in dry glass jar.

Since the berries are also cooked, it gets soaked faster. You can eat the berries the next day itself. But as it ages, it gets more soft and tastes better with soaking. You drizzle the syrup on poories, rotis or bread too. The syrup tastes delicious with the juice of the gooseberries blended in.


November 3, 2009

Eggless Pineapple Upside Down Cake


Pineapple upside down cake was on my list for a long time. I have been buying pineapples with the idea of cake in mind. But it eventually ended up in juice or jam. Recently, Sowmya of Creative Sage posted one. That brought the idea to the front again. during the weekend veggie shopping, I got one ripe pineapple. Decided to bake it on Sunday. But we had other plans. I thought this time too I should give the cake a miss. But somehow managed to bake it on Monday evening. I had bookmarked a recipe from JoyofBaking. I made it eggless with the use of flaxseeds powder and with slight changes in the ingredients. I got a moist cake
and was very happy with the result. The cake recipe can be made with variations to make different flavors. It had a perfect texture and not very dense in spite of using some whole wheat flour. It remained moist the next day too and has soaked in the flavors better.


Topping

Butter - 2 tblspn

Powdered Jaggery - 1/2 cup

Fresh pineapple slices - 7 nos


For the cake

All purpose flour - 1 cup

Whole wheat flour (Atta) -1/2 cup

Baking powder - 2 tspn

Salt - 1/4 tspn

Butter - 1/2 cup

Sugar - 1 cup

Vanilla essence - 1 tspn

Milk - 1/2 cup

Powdered flaxseeds - 2 tspn in 1 cup of water.


Topping


The original recipe asked for brown sugar which I didn't have. I was thinking of caramelizing white sugar instead of brown sugar. Then I remembered Sunita's recent dessert, where in she has used jaggery. I didn’t want jaggery to be overpowering so reduced to 1/2 cup in place of 3/4 cup of brown sugar as said in the recipe. Also used 2 tblspn less butter.

Add the grated jaggery and 2 tblspn of butter in a pan. Soon both will start melting and when it starts bubbling, remove. Transfer the melted jaggery and butter to the greased cake tin. I placed the slice pineapples on the syrup when warm.


Preparing the cake


Sift the dry ingredients together. Beat butter and sugar till light and fluffy. Mix the 2 tablespoons of flaxseeds in a cup of water. Add milk, flaxseed meal mixed with water and vanilla essence to the butter sugar mix. Slowly fold in the dry ingredients and mix it without any lumps, after each addition.


Bake in a preheated oven at 180 C for 50 minutes or till the top starts browning and the cake pulls from the sides. After removing from the oven, cool it for 10 minutes and invert it on a plate. With a scoop of ice-cream, the cake will make an exotic dessert.

Note: In place of fresh pineapple, canned slices can be used too.


The baking bug has caught on my sister too. After the recent Diwali purchase of a MW convection oven, she too is on a baking spree on weekends. I am delighted to see her first cake attempt turning successful, with my instructions over phone, inspite of the recipe on my blog.


My sister's first cake - Eggless Dates Cake


P.S. This is my 200th post. Thanks to all my fellow bloggers and readers for the inspiration and encouragement.