Showing posts with label Breakfast. Show all posts

April 20, 2011

Rava Dosa ~ Instant breakfast

When I chose the theme Indian Breads for Blogging Marathon, I  had few different kind of rotis in my drafts to be posted. Later while I was checking the different varieties that fall under this category, I found dosas, pooris and bhaturas also fall under this. Though the first thing that comes to our mind is the roti. So here I am sharing one of my favorite dosa recipe. I mostly order Rava Dosa in restaurants when to comes to South Indian food. I never get bored of this. Rava dosa recipe is very simple. But spreading the batter to get crisp dosa is an art. There are many recipes with various ratios of rava, rice flour and maida. This is the recipe I have been following for many years. Initially my dosas would be very thick and not crisp. But with practise, I got it perfect. When it comes to rava dosa, you cannot compromise much on the usage of oil.


You need
  •  Rava/Semolina - 1 cup
  • Rice flour - 1 cup
  • Maida /All purpose flour - 1/4 cup
  • Salt

To season
  • Oil - 1 tspn
  • Jeera/Cumin seeds - 1 tspn
  • Crushed pepper corn-1/2 tspn
  • Green chilly - 2 nos, chopped
  • Ginger - a small wedge, finely chopped.
  • Curry leaves - 1 sprig
Method
Soak rava in water for around 45 minutes. Add water so that its 1/2 inch above the rava. On soaking, rava will absorb water. Meanwhile, heat oil in a ladle and do the seasoning.  Mix in maida, rice flour, salt and the seasonings to the soaked rava. Add water to make a loose batter. The batter should be slightly thicker than water. The batter consistency is very important to get crisp dosa.
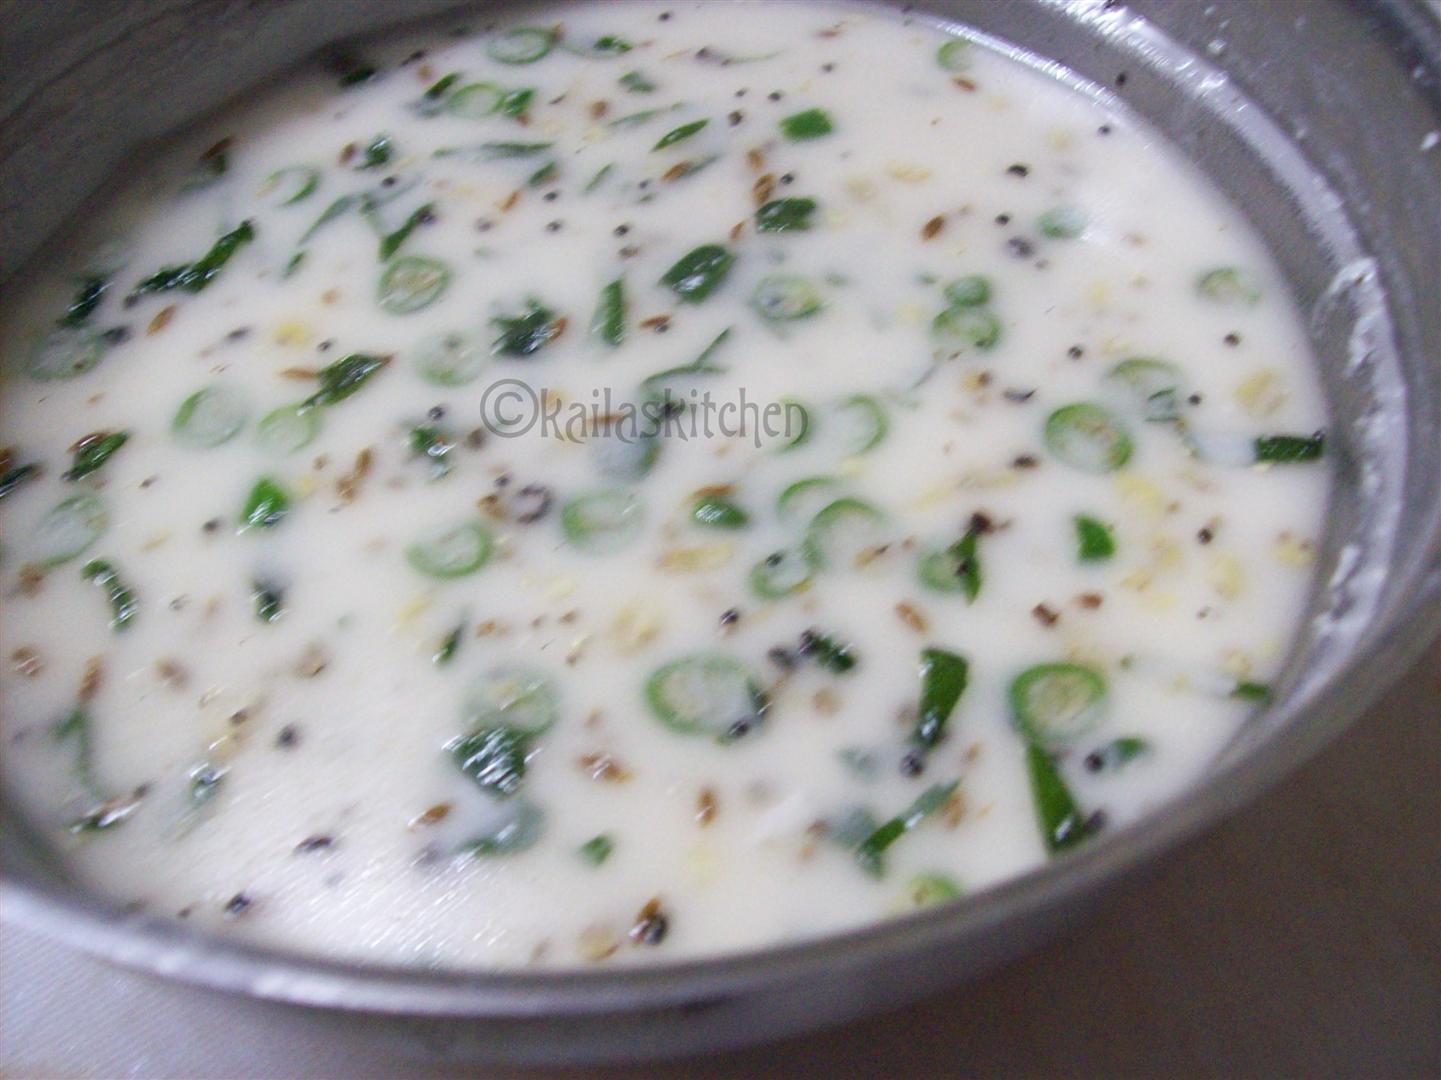

  
Heat the dosa tawa. When it is very hot, use a katori/cup to spread the batter on the tawa. Pour the batter using the cup to the tawa in quick motion. Don't try to fill all the gaps. Few holes here and there is fine. Drizzle oil.


When the downside is cooked flip and cook the other side too till crisp.


Serve hot with coconut chutney


Notes:
Iron tawa gives better results than non-stick tawa
I usually use gingelly oil/nallenai for my dosa. With rava dosa, I find refined oil give more crispy dosas
The tawa should be very hot
Use a cup to pour the batter.  Hold your hand little above the tawa while you pour the batter. So when the batter falls on the hot tawa, small pores will be formed.
 
I'm sending this dosa to Breakfast Mela organised by Srivalli in celebration of her blog birthday.

Check out my Blogging Marathoners doing Group 3 BM#4 along with me

Diabetes Diet/Management: Kamalika, Smitha, Suma
Kid Friendly Recipes: Anusha, Cool Lassi(e)

Seven Days of Soup: Priya Suresh
Seven Days of Indian Bread: Jayasree, Pavani
Seven Days of Cakes:  Priya Vasu

February 21, 2011

Cabbage Dosa ~ No fermentation, spicy dosa

At first, cabbage in a dosa did not appeal to me. I have seen many blog posts featuring the cabbage dosa, a famous Konkani recipe. My husband's aunt Malathi is a great cook and she loves to cook and feed too. When she is serving, she keeps filling your plate and you will be too full that one will need support to get up from the chair.  M aunt's husband is very choosy when it comes to food. He will have only oil free food and don't eat onions. M aunt will cook the same curry in two ways, with ease. Also sometimes she will cook different menus to satisfy all. And she puts together the meal at super speed. And in many ways, she reminds me of my mother.  That way, I have always felt that I am staying at my home when I go there. She has never treated me as daughter-in-law. I am literally pampered there.  After we shifted to Pune, I had to visit my hometown and I stayed at aunt's house. She made this dosa for breakfast. I was simply hooked to it and understood a recipe cannot be judged by its ingredients alone.  And then it is a regular at my home.

This dos is almost an instant kind since no fermentation is required here. Tamarind is added to the batter and it takes care of the slight sourness to the batter. If you remember to soak the rice and dal the previous night, then the breakfast for the day is ready in 15 minutes including the grinding and chopping time. So if the cabbage in the recipe has put you off, do try it once and you will be proven wrong.


You need
  • Parboiled rice - 1 cup
  • Chana dal - 2 tblspn
  • Tuvar dal - 1 tblspn
  • Red chillies - 6-8 nos
  • Tamarind - Gooseberry sized
  • Turmeric powder - 1/2 tspn
  • Hing - 1/4 tspn
  • Salt to taste
  • Finely chopped cabbage - 1 cup


Method
Soak rice and dal together overnight.
Soak tamarind and red chillies in warm water for 10 minutes. Soaking in warm water makes the tamarind soft. Grind the soaked tamarind, red chillies, hing , turmeric and salt along with few tablespoons of rice. Grind it to smooth paste and then add the rest of rice+dal mix. Grind it coarsely. To the batter, stir in the chopped cabbage. The batter will be thick like that of adai.

Heat dosa tawa and when it is hot, spread a ladle of  the batter. The batter is not easily spreadable like dosa. Using the ladle lightly spread the batter to a circle. Don't try to spread thin. This is a fairly thick dosa. Drizzle oil around the dosa. When the bottom is cooked, flip and cook on the other side.

The dosa can be had on its own since it has tamarind and red chillies to add spice. A side of coconut chuntney or sambhar is also good. Serve it hot.


January 15, 2011

Pongal Special ~ Ven Pongal & Chakkarai Pongal

Wishing all my readers a very happy Pongal/Sankaranthi. Like every year, I made Ven Pongal, Chakkara Pongal and Vadai to celebrate the occasion. For a change, Husband wanted Uzhundu (urad dal) vadai  instead of the paruppu vadai, which is usually made for Pongal. I could not get fresh turmeric so tied the dried ones to the pot.


Chakkarapongal

You need
  •  Raw Rice/Pachharisi - 1/2 cup
  • Moong dal - 1/4 cup
  • Jaggery - 1 cup
  • Boiled Milk - 1/2 cup
  • Ghee - 2 tspn
  • Cashew - 10 nos
  • Raisins - 10 nos
  • Cardamom powder - 1/2 tspn


Method
Roast rice and dal separately. Pressure cook with 2 1/2 cups of water. Melt jaggery with 1/4 cup water. Filter to remove any impurities. Bring jaggery syrup to boil and stir in the cooked rice and dal. Cook on low flame till the jaggery is well absorbed by the rice,dal mix. This will not take much time and will get done quickly. Do keep stirring to avoid the mix getting stuck to the bottom. The color of the rice and dal will change to brown on cooking. Finally stir in the milk and cook for a minute or two for it blend well and remove from fire. Don't cook for longer time once the milk is added to avoid curdling.


Roast cashew nut and raisins in ghee and add it to the pongal. Finally add cardamom powder.


VenPongal

You need

 
  • Rice - 2/3 cup
  • Moong dal - 1/3 cup
  • Turmeric - a small pinch
  • Hing -1/4 tspn
  • Water - 3 cup
  • Ghee - 2 tblspn
  • Cumin seeds - 1 tspn
  • Peppercorns - 5-8 nos, crushed
  • Few curry leaves
  • Cashew nuts - 10 nos (optional)

Method

 
Dry roast rice for less than 5 minutes or so. Roast moong dal till you can smell the aroma of roasted dal and the dal would have turned light brown. Wash rice and dal together. Add 3 cups of water to rice+dal  mix. Add a pinch of turmeric and hing to it. Pressure cook till it is soft. After pressure cooking, the rice and dal would have cooked soft with no traces of water in it.


Mash it lightly with the ladle.


Heat a pan and add ghee. When ghee is hot, add cashews, cumin ,crushed pepper and curry leaves. When cashews start browning remove and add the seasoning to the rice dal mixture.


Mix well and serve hot. Coconut chutney goes well with pongal.


I shall post the vadai recipe in the next one. Until my friend, who is a follower of this blog, messaged me that she was expecting a post on pongal recipes, I didn't realize that I haven't posted the recipes here. Thanks Anu, this is specially for you.


Wishing all my readers a lovely day of celebrations with friends and family.

November 27, 2010

Buttermilk sponge dosa and Peas Mint Wale

Buttermilk dosa is a spongy version of the verumarisi adai, for which only boiled rice is used. In this dosa, aval or beaten rice is also added and rice and aval is soaked in buttermilk. Since its soaked in buttermilk, no fermentation is required for the batter before making dosas. You get super soft dosa. This is a great hit among my relatives and friends who has tasted this at home.  Thanks to Mallika Bhadrinath for a super breakfast recipe.


You need
 

  •  Idli rice /boiled rice - 2 cups 
  • Aval/beaten rice - 1/4 cup
  • Buttermilk - Around 3 cups, enough to soak the rice.
  • Cooking soda - a pinch

Method
Wash and soak rice and aval together in buttermilk for 5 hours. I usually soak it overnight. The buttermilk will be almost absorbed by the rice and aval. You will not require to add extra water while grinding. Grind it to a smooth batter and add salt.The batter should be slightly thicker than the usual dosa batter. 


Before making dosa, add a pinch of  cooking soda and leave it for 5  minutes for it to act.  Heat the dosa tawa. Take a ladle of  batter and pour it on the tawa.  Slightly spread it and it will spread on its own.  The dosa should be slightly thick so that you get the pores well. Cover and cook for a minute. Flip and cook the other side also by covering. Enjoy hot with a spicy side.


 Peas mint wale
 

Peas mint wale is adapted from Nita Mehta's Mattar dhaniya wale.  The recipe calls for fresh peas. I think this should work with dried peas also. This is a one pot gravy except for grinding the paste, its a breeze. I liked this no-onion recipe. In the original, there was garlic flakes which I omitted.


 You need

 
  • Fresh, shelled peas - 2 cups
  • Tomato - 1 no, chopped into pieces
  • Oil - 1 tbspn
  • Hing - few shakes
  • Cumin/Jeera-1/2 tspn
  • Kalonji - 1/4 tspn


 For mint paste

  •  Mint leaves - 2 cups
  •  Ginger - 1" piece
  •  Green chillies - 2 nos
  •  Tomato - 1 tspn
  •  Tamarind paste - 1 tblspn or juice of 1 lemon


 Method

 
Grind together the ingredients for the paste.  Heat 1 tbspn of oil in the pressure cooker. Add hing, jeera and kalonji. When jeera turns brown, add peas. Saute for 2-3 minutes. Add the mint paste to the peas and mix well.  Pressure cook for 2 whistles. Open the cooker when the pressure drops. Add salt and chopped tomato and cook for a minute or two.


April 5, 2010

SpotLight Blog #My Experiments With Food ~ Recipe - Aval Kozhukkattai

The calendar is showing a new month and its time for a new blog to be on the spotlight. And this month, the limelight blog is Jayashree's 'My Experiments with Food'. The similarity doesn't end with our names and blog names, our traditional cuisine is same too (Palakkad Iyer cuisine).  I found many interesting, delicious recipes yet not very complicated in her blog.

The first recipe I tried for this series was Aval Kozhukkattai - Steamed balls from beaten rice. It made a quick and filling meal. The preparation is similar to upma kozhukkattai. When I first saw the recipe, my thoughts were how different is it going to be from aval upma/puli aval. The ingredients were almost the same except that tamarind or an equivalent is not used here. I am glad I tried it since it was so different from upma and had a unique taste. It was worth trying.


You need

Coarsely powdered aval/beaten rice - 1 cup
Water - 2 cups
Grated coconut - 2 tblspn
Salt to taste

Seasoning

Oil - 2 tspn
mustard seeds - 1 tspn
Chana dal, urad dal, peanuts - 1 tspn each
Green chilly - 1 no
Curry leaves - few sprigs

Method

I used the rose matta aval which is very tasty and has a thick texture. To get one cup of coarsely powedered aval, take 2 cups of aval. Make sure you don't grind it fine else the kozhukkattais will not have the right texture.

Take a kadai. Heat oil and add the seasoning ingredients. Add water and salt. When water starts boiling, add the powdered aval. Mix well. Cook on low heat till the water is fully absorbed and resembles upma. Add grated coconut and mix well.

Spread the cooked mix on a plate to cool. Spape the dough into balls and steam cook for 5 minutes. Jayashree has  done this in microwave and I chose to do it on stove top.

The kozhukkattais tasted good on its own. You can serve it with any chutney as dip or sprinkle some chutney powder on it and serve. I got 11 nos of the size shown in the picture.


March 25, 2010

Raagi Idly using whole raagi grains

Mercury in my area is been touching new levels before its officially summer. Cases of sun burn is reported on a daily basis and is something unheard of previously. Days are warmer. Even early morning is not so pleasant. I usually finish my cooking by 7 before husband leaves for office. That is to say I don't have to be in the kitchen when the day warms up. But even during the early morning hours,Iam sweating profusely. I prefer breakfast which gets done quickly. Idlis are great saviors since it gets done in a batch. Other than the normal idlies, I make idly with rava, wheat rava and semiya too. It was then I thought of trying raagi idli. Raagi is supposed to have the cooling effect on the body and its ideal for the summer heat. I followed the usual idli recipe where in 2 cups of rice was replaced with ragi grains. It turned out soft and taste of ragi was mild too.


You need

Parboiled rice/idli rice - 2 cups

Whole ragi grains- 2 cups

Urad dal -1 cup

Methi seeds - 1 tspn

Salt to taste


Method


Wash and soak rice,ragi urad dal and methi seeds separately for 6 hours or overnight. First grind urad dal till light and fluffy. While grinding urad dal, don't be tempted to add more water. Add enough water to keep the batter moist. This will ensure fluffy batter. Next grind rice and ragi together till it is smooth. Add the soaked methi seeds also while grinding rice and ragi together.  Add salt and mix the ground dal and rice-ragi mixture . Give a thorough mix with a ladle or better use your hand which aids in fermentation. Leave the batter to ferment for 6 hours.  Make idlis the usual way.


I am planning to increase the quantity of ragi to 3 cups and reduce rice. I think it should turn out well.  I am sending this to JIHVA for breakfast hosted by Suma, an event started by Indira


March 22, 2010

Plantation Style Rice Roti ~ Sptolightblog#2 Recipe

The last recipe from Asha's Foodies Hope is Coffee plantation style rice roti. I had planned to try the baingan masala too but did not have brinjals in hand. I had bookmarked few brinjal dishes and very much wanted to post atleast one eggplant recipe since its one of her favorite veggie. I will try it soon and shall post it then. For now, its just the akki roti. She says this kind of roti is familiar only to people around Hassan, Sakaleshpura and Coorg coffee Plantations. I found this version of roti very useful to use up left over cooked rice. Roti comes out soft and I know I have to go long way to get the super soft kind. I tried with half the measure of her orginal recipe and got 4 rotis. By the time I made the last one, I got the hang of it and promised myself that I make it often and master the technique.


You need

Cooked rice  - 1 cup


Rice flour - less than 1/2 cup
Salt - 1/2 tspn


Method.

If you are using freshly cooked rice, spread it on a plate and leave it to cool. Mash the rice with salt in it. Add rice flour to it to get a firm non stick dough. Try not to add too much of rice flour since it will result in tough rotis. Divide roti into tennis ball size rounds. I got 4.

Since I used left over rice from lunch, I pulsed the cooked rice in the mixer and added rice flour to it. I got a homogenous dough. Pat the dough on a greased plastic sheet or on a banana leaf. Heat a tawa and when hot peel and place the roti on it. Cook till you see light brown specs on it. Flip and cook the other side too.

Ashakka had written that it can be half cooked on the tawa and then it can be cooked using a stove top grill which is used for phulkas. I followed this method. Else you can do the entire cooking on the tawa. No oil required. These rotis ideally should puff up. Serve the soft and hot rotis along with any spicy side dish.


February 24, 2010

Aapam - A Kerala Delicacy

The soft,spongy dosa which is slightly thick in the centre and lacy edges is truly an irresistable breakfast dish. Yes, I am talking about aapam, which is a very common breakfast of Keralites apart from puttu. The popular combo is Aapam and Potato stew or Kadala curry. Both the sides tastes awesome with aapam. In Tamilnadu, coconutmilk is usually served as a side which is also a good match for the soft aapam. There are umpteen recipes which guarantee you the best aapam. My recipe is a simple straight forward one, which I have adapted from my Amma. I have eliminated an additional step which Amma follows. Amma uses only raw rice and coconut for grinding. Then she will prepare a thick , but free flowing paste out of a tablespoon of batter mixed with 1 cup of water. The cooked batter paste is then mixed to the batter and left to ferment.  This is to get soft aapam. I omit that step and instead add a handful of urad dal while grinding.

To prepare aapam, you need that special pan to get the perfect shape for aapam - with a dome in the centre and lacy edges.  Now a days you get the non-stick aapam pans which makes aapam preparation a breeze. Earlier, amma used to use the deep kadai for this and had to struggle lifting the appam from kadai. If you don't have an appam pan, you make it on regular dosa tawa. You don't get the shape. But cover and cook only one side.


You need

Raw rice - 2 cups
Split urad dal  - handful
Grated coconut - from half of a coconut
Salt to taste
Cooking soda - 1/4 tspn


Method

Wash and soak rice and urad dal together for 5 hours or overnight. Grind together rice, urad dal and grated coconut till smooth. Add salt and leave to ferment for 6 hours. The batter consistency should be thinner than dosa batter. Add cooking soda and leave it for 10 minutes for the soda to act.  If you are not using the whole batch, divide the batter before you add soda. This way you will have fresh batter to start with the next day. With soda added batter, I feel you don't get the same result the next day.


Keep the aapam pan on the stove and smear little oil on the pan. Take a ladle of the batter and pour, starting from the outer edge to the centre of the pan. Hold the handles of the pan and give a gentle swirl so that some batter from the edges will flow down to the centre. This method will leave only a thin layer of the batter at the edge which will turn crisp on cooking. Cover with a lid and cook for 2 minutes on moderate heat. If you like a crisp exterior, you can conitnue to cook for few more seconds for it turn brown else remove.

I served with the chettinad tomato chutney which went very well with aapam.


Aapam is regular for breakfast at home and I have been thinking of posting this for a while. But will forget to click the picture everytime. My R.Manni (co-sister) has been asking for this recipe, for quite a long time and fianlly a mail from my reader prompted me to do the post at the earliest.


November 25, 2009

Besan Ka Chilla from TT for T & T

Planning breakfast is a big deal for me. Bread, cornfalkes or other cereals doesn't qualify for breakfast at home. It has to be the Dosa, idli kind. Hope you got the idea. I am not the kind who has the dosa/idly batter stocked up in the fridge at any time. I grind for idli/dosa only once in 10 days. I get bored of dosa and idly very soon. When there is no batter for any kind of dosa (appam/set dosa etc), instant breakfast comes handy. On one such day, I didn't have many of the ingredients needed to whip up an instant breakfast like rava,semiya, rice flour etc. I remembered about the Besan Ka Chilla at Tongue Ticklers. All you need is besan flour and some spices to flavor it up. No fermentation required.


Harini has soaked bengal gram dal and made a batter of it. As I said, I was looking for an instant option, I used the bengal gram flour.


You need

Bengal gram flour/besan - 2 cups

Red chilli powder - 1/2 tspn

Grated ginger, coconut and finely chopped onions - a tblspn of each

Salt to taste

Water to prepare the batter

Oil
Method

Mix all the dry ingredients together and add water. Whisk well to get a lump free batter. The consistency should be similar to the usual dosa.

Heat a skillet. When moderately hot, take a ladle of the batter and spread it like dosa. Don't make it too thin. Slightly thicker dosa gives a nice texture to it. Flip and cook the other side too. Serve with chutney or molagapodi. I served with onion chutney.


For onion chutney

Onions - 2 medium sized

Red chilly - 2 nos

Chana dal - 1 tblspn

Grated coconut - 2 tblspn

Tamarind - a small bit

salt

Oil- 1 tblspn


Roast chana dal and red chilly in a tablespoon of oil. Remove and saute the onion in the remaining oil. When cool, grind all the ingredients together. Add water to get the desired consistency.

The measurements for the chutney are indicative. Little more or less will not do any harm. I always eyeball the measurements and in turn the chutney tastes different each time. You can even add few sprigs of curry leaves or coriander or mint too.

Check Harini's has kids friendly version  of the chilla here.
This is off to T&T hosted by Raaga, an event started by Zlamushka, where the spot light is on Tongue Ticklers this month.


August 17, 2009

Methi Rava Idly and Sambhar


Idly for breakfast makes work easier, since the breakfast for the entire family is made in a single batch. That's the only factor which pushes me to make idly for breakfast. Two years back, I first tried making rava idly with the MTR instant pack . Followed the instructions on the pack, rava idly turned out well was given a thumbs up by the family. I noted the ingredients on the packet. After 3 attempts, I got the right texture of the idly by making it from scratch. Since then, this recipe is a savior when in need of a quick fix for breakfast. I usually do the seasonings and roasting part the previous day and refrierate the mix. The next day all I have to do is mix in the wet ingredients and proceed with idly making. It saves lot of time.

Methi Rava Idly
(Yields - 16 nos )

Rava/Sooji - 2 cups
Buttermilk - 1 cup
Water - 1 cup
Salt
Cooking soda- 1/4 tspn
Methi leaves - handful
(Grates carrot or fresh corn etc can also be used)


Seasoning

Ghee/oil - 2 tblspn
Mustard seeds - 1 tspn
Chana dal - 1 tblspn
Cashews - 10 nos
Green chilly - 2 nos, finely chopped
Curry leaves - few


Heat oil/ghee in a kadai. Add the seasoning ingredients. Add the methi leaves. When the leaves wilt, add the rava and roast till you can smell the aroma of roasted rava. Cool and add salt,buttermilk and water. I have used buttermilk since it is always available in my home. Beaten curd can also be used instead. The proportion of rava and liquid is 1:1. Whisk to break the lumps. Keep it aside for 10 minutes. Mix in the cooking soda and mix gently. Scoop into greased idly moulds and steam for 7-10 minutes. Serve hot with chutney or sambhar or molagapodi. Adding methi leaves did not impart any bitter taste to the idlis.


Sambhar


Sambhar in Palakkad Iyer lingo is not the instant, quick fix kind. To qualify for sambhar it must have coconut and fresh roasted and ground spices. Sambhar without coconut is looked down upon and is rarely made too. Things have changed now. People have go used to making with instant sambhar powders sans coconut. And coconut if used, is very moderate quanitity. I rarely make sambhar using the sambhar powder. When ever I make coconut less version (podi potta sambhar) , I prefer fresh powder. And i do have the store bought sambhar powder in stock,ironically never used for sambhar making. the veggies used in sambhar is very versatile. Drumstick/ladies finger/ pumpkin/brinjal/raddish/pearl onion are some of the common veggies used. Each veggie on its own gives a distinct flavor and a combination of veggies also works good. Sambhar is a very forgiving recipe and has scope for many variations. I usually follow the age-old method of eye ball measurement while making sambhar. I believe that gives a distinct taste each time its made. Take the following measurement as a guideline and little more or less will not alter the taste much.

Now coming to the recipe I follow,

Radish/Mullangi - 2 nos,sliced into circles
Tuvar dal - 1/2 cup
Tamarind - lemon sized
Turmeric
salt
Coconut - generous 1/2 cup

To roast and grind
Oil - 1 tblspn
Coriander seeds/Malli - 2 tblspn
Red chilly - 4 nos
Chana dal/Kadala paruppu - 1 tspn
Methi seeds/Venthayam/Uluva - 1/2 tspn
Curry leaves - 5 leaves (optional)
Hing powder - few shakes

Seasoning
Oil - 1 tspn
mustard seeds - 1 tspn
Curry leaves for garnish
Pressure cook tuvar dal till soft and mash able. Soak tamarind in warm water for 5 minutes or so. This will help easier extraction of the juice. Keep the vegetable sliced.

Take the tamarind extract in a vessel and a cup of water, salt and turmeric. When the tamarind water starts boiling, add the veggies. Cook till it is fork tender.

In the meantime, roast the the ingredients to be roasted till the dal turns light brown. Remember to add the methi seeds during the last stages of roasting. When cool grind to a smooth paste along with coconut. Add water as required.
Mash the cooked dal and stir into the cooked veggies. Add the ground paste. Check the salt. Adjust the consistency by adding water. Bring to rolling boil stage. Do the seasoning with mustard seeds and add few curry leaves for garnish.

The plate of idly and sambhar is my contribution to EC's WYF -Breakfast event

July 28, 2009

Recipes of Maa-vilakku Neivedyam

In my previous post, I have written the pooja to be done for the maa vilakku. Here I am giving the recipes of the dishes made for neivedyam.

Pachha Maavu - Dough to make the lamp


Ingredients
Raw rice/Pacharisi - 2 1/2 cups
Powdered jaggery - 1 cup + 3 tblspn

Wash and soak rice in water for 2-3 hrs. Drain and spread on a towel to dry. Powder in the mixer grinder and sieve the ground powder to get fine rice flour. Grind the coarse rice again and continue until few tablespoons of coarse rice is left.

Grind the powdered jaggery and fine rice flour together. Transfer the rice flour and jaggery mix to a bowl. Keep mixing them by your hand and you should be able to make a ball of it. It might look as thought you cannot hold the flour together. Don't add jaggery since it will not end up in a stiff dough later. Its by the warmth of the hand that the flour and jaggery will come together. It requires some 20 minutes of constant kneading. If you are making the dough just for eating then more of jaggery will not be a problem. But since we need to light the lamp in it, it should be a stiff one else after few hours of burning the lamp, the jaggery in the dough will start melting and the lamp will lose the shape. We have the custom of placing two lamps. So divided the dough into two ball and shaped it well. While eating the maavu, its had along with coconut pieces.


Vella Kozhukaatai


Ingredients
Rice flour - 1 1/2 Cups
Powdered jaggery - 3/4 Cup
Water - 1 1/2 cups
Coconut chopped into tiny pieces - few

Mix jaggery in 1 1/2 cups of water in a bowl and heat it. When the jaggery is fully melt, strain to remove any dirt. Bring the jaggery syrup to a boil. Stir in the coconut pieces and a tablespoon of ghee. Slowly stir in the rice flour. Keep mixing to avoid lumps. Continue to cook till it is not sticky to touch and the dough will have shiny coat to it. Leave it to cool. Make small marble sized balls. Steam it for 10 minutes using an idly steamer or any steamer of your choice.


Paal Pongal


Ingredients
Raw rice - 3/4 cup
Roasted moong dal - 1/2 Cup
Jaggery - 3/4 cup
Water - 1/2 cup
Coconut milk extracted from one coconut.
Cardamom powder - 1/4 tspn

Extract two sets of milk from the coconut. To extract milk, grind the fresh, grated coconut with 1 cup of water. Squeeze to extract the milk. This is the first milk. Repeat grinding with another cup of water and extract the thinner second milk. Instead of coconut milk, ordinary milk can also be used.

Pressure cook rice and moong dal in 3 cups of water. It must have cooked mushy.
Make jaggery syrup by boiling water and jaggery. Bring the syrup to rolling boil. Slowly stir in the cooked rice+ dal mix to the boiling jaggery syrup. Keep stirring. It will start thickening. Add the second milk and continue to cook till the rice + dal absorbs the flavors. Stir in the thick first milk and cardamom powder. Remove from fire.


Pachharisi Idli - Idli with raw rice and urad dal
Raw rice - 1 cup
Urad dal - 1/2 cup
Salt

Usually idli is prepared by grinding soaked boiled rice/puzhungalarisi. When ever any bhakshanam is made for nivedyam, its customary to use raw rice. So since idli is offered as nivedyam, its made using raw rice.


Soak 1 cup of raw rice and urad dal separately, for 3 hrs. Drain and spread on a towel to dry. Powder the rice coarsely like rava. Grind urad dal into a smooth batter. Mix the rice rava and urad dal batter. Add salt and adjust the consistency by adding water. Leave it to ferment overnight. Scoop the batter into greased idli moulds and steam cook for 10-12 minutes. If rice is ground to a smooth batter, idlis will not turn soft and fluffy. For that reason, coarse rice is used.


The steamed goodies - Kozhukkattai and Idly are being part of the Steamed Treats organized by Shruti